How to Use TidySongs
Step 1: Import your music library
For iTunes library:
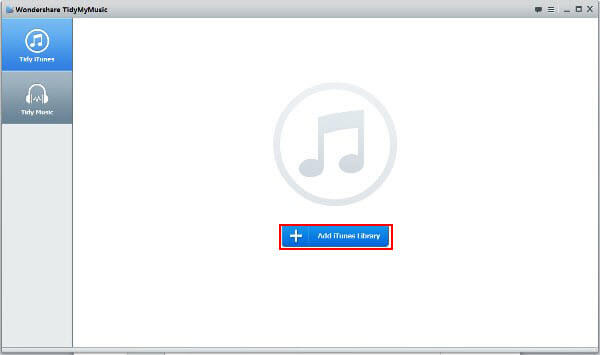
Select the “Tidy iTunes” option in the left panel, and click “Add iTunes Library”. TidyMyMusic will instantly load all the music files saved in your iTunes. And it will automatically load the iTunes music library every time you restart the program.
For music saved on local hard drive:
You can also perform the scan-and-fix on the songs that are not saved in your iTunes. Select the “Tidy Music” option on the left panel and add the music files that you wish to fix to the program.
Step 2: Quick analysis of your music collection
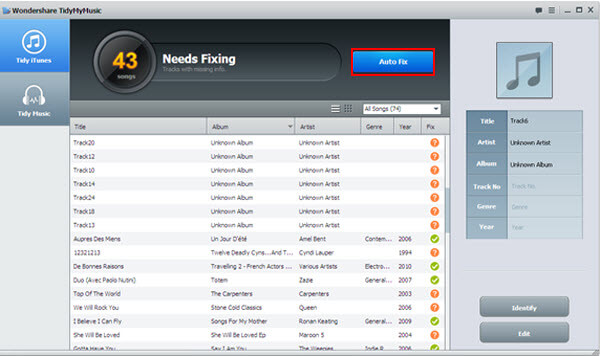
TidyMyMusic will perform a quick scan on all the music files after loading the entire music library. The number of missing or mislabeled tracks that are needed to be fixed will be displayed in the menu on top.
Step 3: Fix music with missing or mislabeled info
Simply click the “Auto Fix” bottom on the top menu to start the fixing process.
Step 4: Confirm and apply the changes to the music info
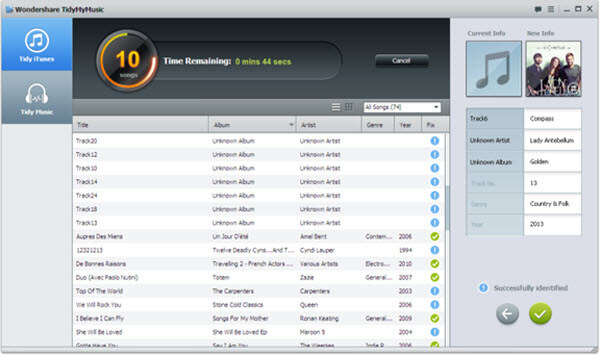
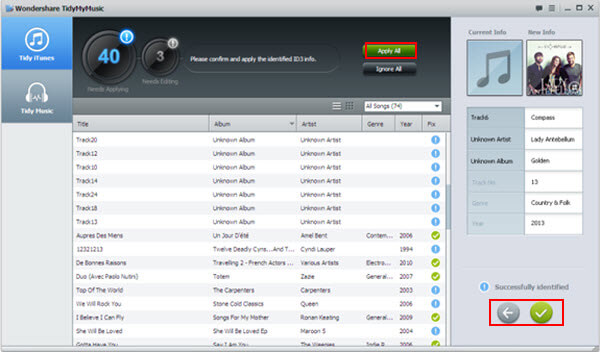
After match-and-find cross referencing with its music database, TidyMyMusic will show you all the tracks that have been identified in the process. You can browse and fix the detailed music info individually, or you can simply click “Apply All” to fix the identified tracks all in once.
Step 5: Edit music info manually
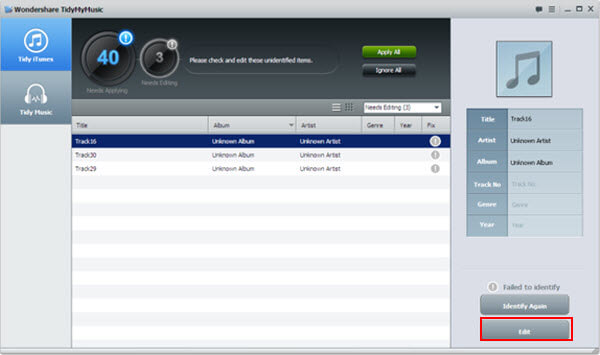
Tracks that failed to be recognized by TidyMyMusic, can be edited by users manually. Simply select one of the tracks in the menu and click “Edit” to edit the music info and album art as you wish.
Step 6: Finish fixing your music library
Click “Finish” after you finished all the scanning and editing works. All the updated ID3 tags will be saved into the files. And now, you have a brand-new-looking music library with the complete music info embedded in each track. Enjoy!
